
.svg)
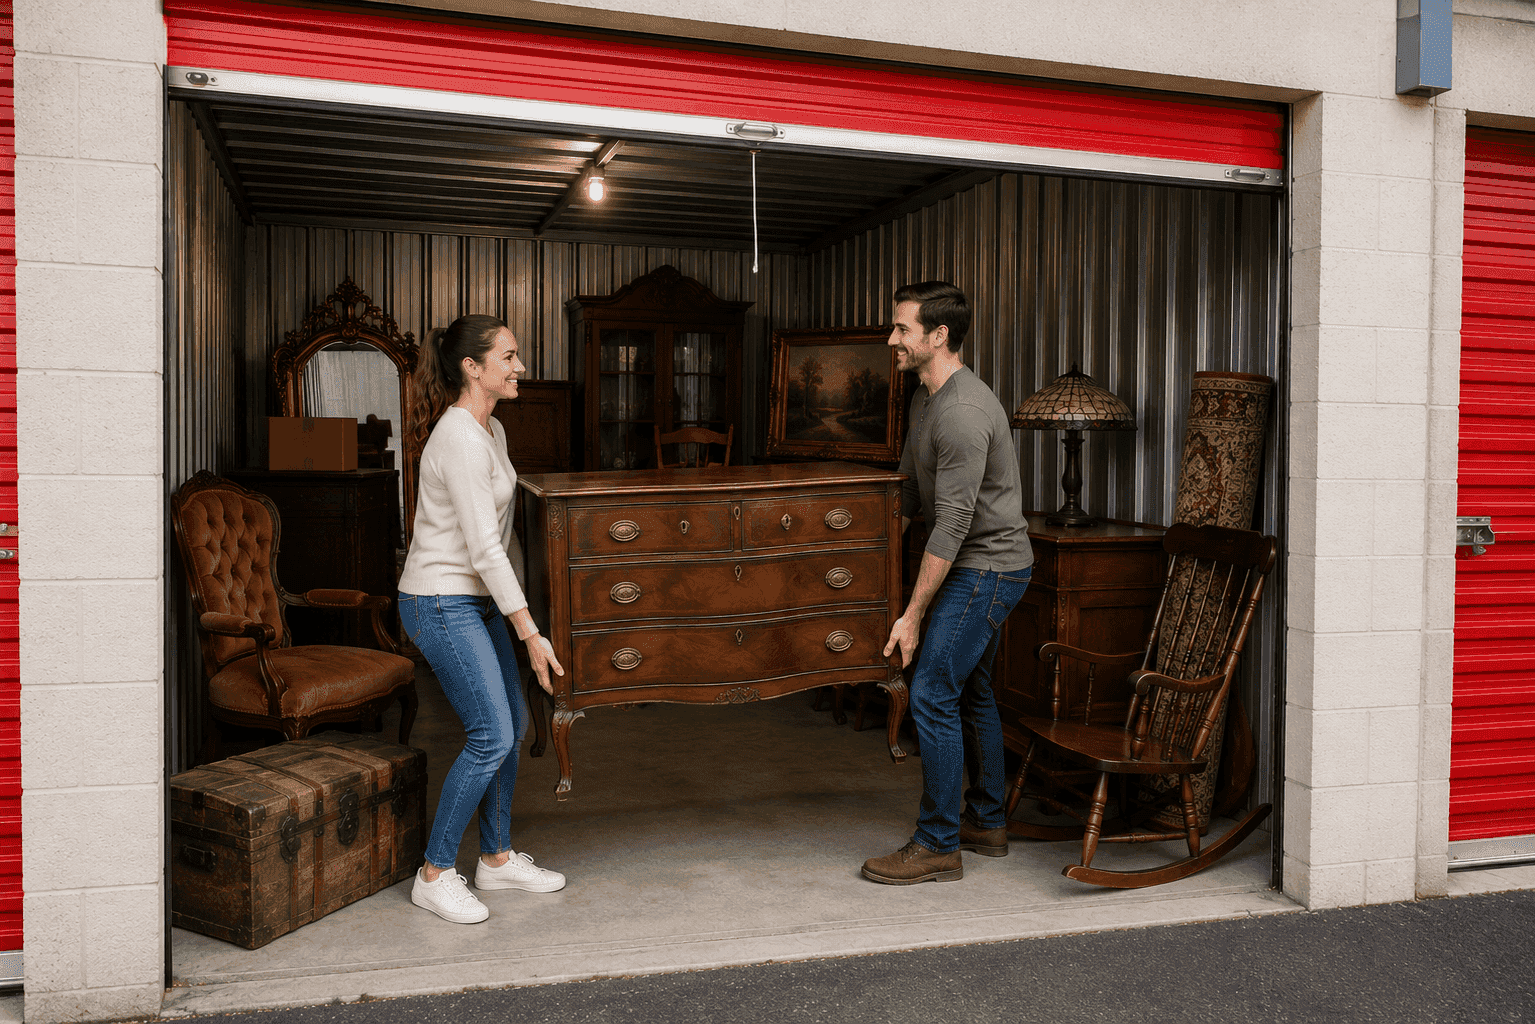
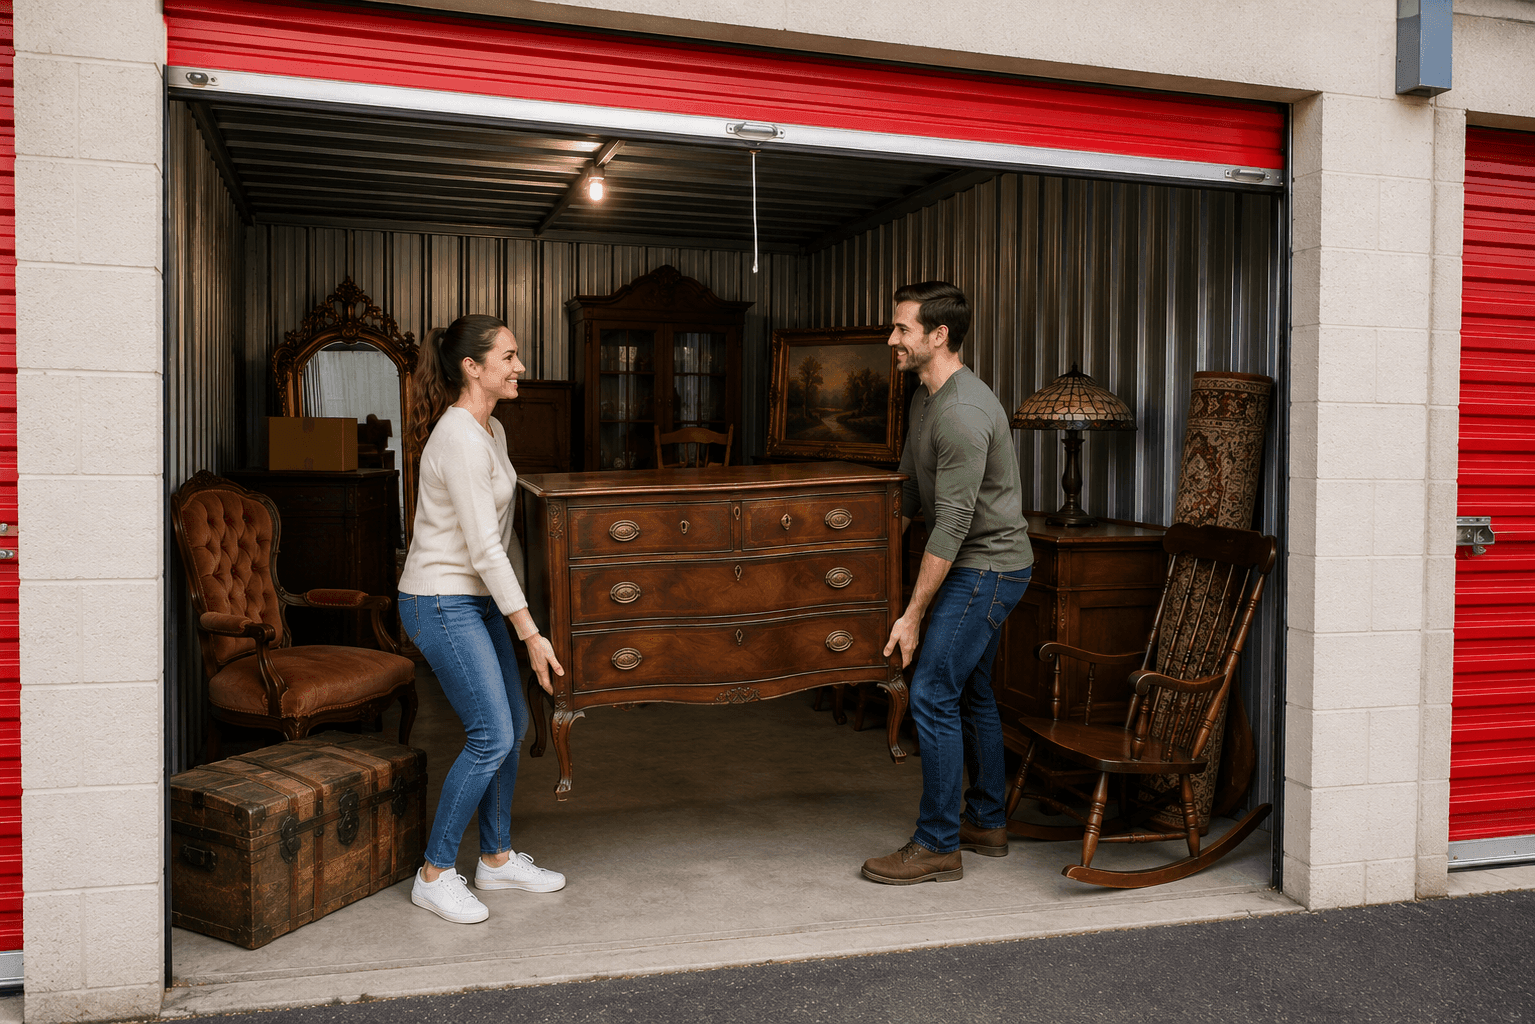
How to Store Antique Furniture: A Complete Preservation Guide
by 10 Federal Storage
Published on July 23, 2026
A modern dresser that sits in a hot garage for a summer comes out a little dusty. An 1890s walnut dresser that sits in a hot garage for a summer can come out with lifted veneer, a cracked top, and joints that have quietly worked themselves loose. Same storage conditions, completely different outcome, because antiques were built with hide glue, solid wood panels, and hand-cut joinery that all respond to moisture and temperature in ways that contemporary furniture simply doesn’t.
That’s the core thing to understand before you store a single piece. Antique furniture isn’t just older furniture. It’s furniture that is still actively moving, still absorbing and releasing moisture, and still held together by materials that were never designed to survive a Carolina July inside a metal building.
The good news: storing antiques well isn’t complicated or expensive. It just requires doing a handful of specific things in the right order, and avoiding a few common shortcuts that cause the vast majority of storage damage. This guide walks through all of it, from documentation and cleaning to wrapping, loading, and the periodic check-ins that keep a collection in the same condition it went in.
Table of Contents
- Why Antique Furniture Can’t Be Stored Like Everything Else
- Before You Store: Document, Appraise, and Insure
- Climate Control Is Non-Negotiable
- How to Clean Antique Furniture Before Storage
- Disassembly: What to Take Apart and What to Leave Alone
- Wrapping Materials: What to Use and What to Never Use
- How to Load Antique Furniture Into a Storage Unit
- Special Handling by Material and Piece Type
- Long-Term Storage Maintenance
- Seven Mistakes That Ruin Antiques in Storage
- What Size Storage Unit Do You Need for Antiques
- Frequently Asked Questions
Why Antique Furniture Can’t Be Stored Like Everything Else
Modern furniture is engineered to be stable. Plywood, MDF, and particleboard are dimensionally consistent, they don’t expand and contract much, and they’re bonded with synthetic adhesives that hold up to heat and humidity. Antiques are the opposite on every count.
Here’s what makes them vulnerable:
- Solid wood moves. A wide solid panel, a tabletop, a chest lid, a case side, expands across the grain when humidity rises and contracts when it falls. Over a summer of swings, that movement can open a seam or split a panel that’s been restrained by a cleat or a frame.
- Hide glue is water-soluble and heat-sensitive. Most furniture built before roughly 1900, and plenty built after, is assembled with animal hide glue. It’s an excellent adhesive and it’s reversible, which is exactly why restorers love it. It’s also why joints can creep and let go in a hot, humid unit.
- Veneer is thin and glue-dependent. Antique veneer was hand-sawn and can be significantly thicker than modern veneer, but it’s still a thin layer bonded to a substrate. Moisture gets underneath, the glue releases, and the veneer bubbles or lifts at the edges.
- Original finishes are fragile. Shellac, French polish, and early varnishes will bloom (turn cloudy) with humidity, soften with heat, and can be permanently marred by contact with plastic.
- Value is tied to originality. This is the part people underestimate. Damage isn’t just cosmetic, a refinished surface, a replaced foot, or a repaired split can cut the value of a piece substantially, even when the repair is well done. Prevention is worth far more than restoration.
None of this means antiques are impossible to store. Museums store them indefinitely. It means the environment has to be controlled and the handling has to be intentional.
Before You Store: Document, Appraise, and Insure
Do this before anything is wrapped or moved. Once a piece is under a blanket in the back of a unit, you can’t easily go back and photograph it.
Photograph everything, thoroughly
Take more photos than feels necessary. For each piece:
- All four sides, plus the top and, where possible, the underside
- Close-ups of any maker’s marks, labels, stamps, or signatures, usually inside drawers, on the back panel, or under the seat rail
- Close-ups of existing damage: chips, scratches, old repairs, missing hardware, veneer losses. This is your baseline. If something happens later, you need proof of the “before.”
- Detail shots of hardware, carving, inlay, and any distinctive joinery
Back the photos up somewhere that isn’t your phone.
Build a written inventory
A simple list per piece, description, approximate age or period, dimensions, condition notes, estimated value, and where in the unit it’s stored. If you’re storing more than a handful of pieces, number the wrapped items and tag them so you can find a specific chair without unwrapping six of them.
Get an appraisal if the value is meaningful
A formal appraisal from a certified appraiser does two things: it establishes documented value for insurance purposes, and it tells you which pieces genuinely need the highest level of protection. Not everything old is valuable, and not everything valuable looks it. Knowing the difference lets you allocate your effort intelligently.
Check your insurance
This is the step people skip. A few things to verify:
- Homeowners and renters policies often cover off-site storage, but at a reduced limit. A policy that covers $100,000 of contents at home may cover only 10% of that in a storage unit.
- High-value items usually need scheduled coverage. A single antique worth more than your policy’s per-item cap needs to be listed individually on a rider or a fine-arts policy.
- Standard policies rarely cover gradual damage. Humidity warping, mold, and insect damage are typically excluded as maintenance issues, which is another argument for climate control.
- Storage facility protection plans are not the same as insurance. They can be a useful supplement, but read the coverage limits and exclusions before relying on one.
Climate Control Is Non-Negotiable
If you take one thing from this guide: antiques belong in a climate-controlled unit. Not “preferably.” Not “if the budget allows.” The cost difference between a standard unit and a climate-controlled one is generally modest, and it is dramatically smaller than the cost of one restoration.
What climate control actually does
A climate-controlled unit keeps temperature within a moderate range year-round and, critically, holds relative humidity in a stable band. For wood furniture, the target range most conservators point to is roughly 35–55% relative humidity with temperatures somewhere between the mid-50s and mid-70s Fahrenheit.
The specific numbers matter less than the stability. Wood that sits at a steady 60% humidity does far better than wood that swings between 30% and 80% every few weeks. It’s the cycling, the repeated expansion and contraction, that opens joints and cracks panels.
What happens without it
- Summer heat: An uninsulated unit can exceed 100°F. Hide glue softens, wax finishes get tacky, veneer adhesive releases, and anything touching a plastic wrap can fuse to it.
- Summer humidity: Above roughly 60% RH sustained, mold and mildew become a real risk on upholstery, leather, and unfinished wood. Metal hardware corrodes.
- Winter dryness: Very low humidity pulls moisture out of wood. Panels shrink, joints gap, inlay and marquetry lift, and finishes craze.
- The swing between them: The most damaging condition of all, and the one a standard unit guarantees.
What to ask a facility
- Is the unit temperature-controlled only, or temperature and humidity controlled? These are marketed similarly and are not the same thing.
- What range is the system maintained at?
- Is the unit interior, accessed through a conditioned hallway, or a drive-up with a conditioning unit? Interior units hold conditions more consistently.
- What’s the pest control program?
Browse climate-controlled units near you and confirm the specifics with the facility before you book.
How to Clean Antique Furniture Before Storage
Anything left on the surface, dust, oils from hands, food residue, old polish buildup, will sit there for however long the piece is stored, and some of it will react with the finish. Clean before you wrap. But clean gently, because aggressive cleaning does more damage than dirt.
The general approach
- Dust dry first. Soft cotton cloth, or a soft natural-bristle brush for carving, turned legs, and crevices. Work with the grain. A vacuum with a brush attachment on the lowest setting works for upholstery and hard-to-reach carving, keep the nozzle off the surface.
- Test any liquid in a hidden spot. Inside a leg, the back of a case, the underside of a rail. Wait and check that the finish hasn’t softened, clouded, or transferred to the cloth.
- Use minimal moisture. A cloth barely damp with water, wrung out until it feels almost dry. Wipe a small area, then immediately dry it with a second cloth. Never let water sit on the surface, and never let it run into seams or joints.
- Let it dry completely. Give a cleaned piece at least 24 hours in a dry, ventilated space before wrapping. Wrapping a piece with any residual moisture is how you get mold.
What to avoid
- Silicone-based furniture sprays. They leave a residue that penetrates the finish, causes a cloudy haze over time, and makes future refinishing genuinely difficult. Restorers dislike them for good reason.
- Ammonia and all-purpose cleaners. They strip and dull old finishes.
- Oil soaps and “feeding” oils. Wood doesn’t absorb oil through a finish. What these actually do is build up a sticky layer that attracts dust and darkens over time.
- Heavy waxing right before storage. A thin coat of quality paste wax on a stable finish is fine and offers a light moisture barrier. A heavy coat won’t fully cure before wrapping and can transfer onto the wrapping material.
Don’t restore before storing
Resist the temptation to fix things first. Fresh glue joints need time and stable conditions to fully cure. New finish needs weeks to fully harden, and wrapping a recently finished surface is a reliable way to get a permanent imprint. If a piece needs restoration, do it after storage, not before.
Disassembly: What to Take Apart and What to Leave Alone
With modern furniture, taking everything apart is usually smart. With antiques, it’s a judgment call, forcing apart a joint that was never designed to come apart causes real damage.
Take apart
- Drawers. Remove them, wrap and store separately, and store the case empty. This reduces weight, prevents drawers from sliding and racking the case in transit, and lets air circulate. Number each drawer and mark its position, antique drawers are hand-fitted and usually only fit their original opening.
- Table leaves. Remove and wrap flat and separately. Never leave them installed in a stored table.
- Glass and mirror panels that are designed to be removed. If they’re fixed in place, leave them and pad heavily.
- Marble and stone tops. Always remove these. More on this below.
- Shelves that sit on pins or cleats.
- Bed rails and slats from an antique bed frame, these are designed to be knocked down.
Leave alone
- Any glued joint. Mortise-and-tenon, dovetail, dowel, if it’s glued, it stays. Prying at a glued joint splits wood.
- Original hardware, unless it’s at risk. Old screws have irregular threads and shallow slots; backing them out often strips the head or the wood. If you must remove hardware, brass pulls that could snag, for instance, use a properly fitted flat-blade driver, go slowly, and bag each set of hardware with a label indicating which piece and which location it came from. Tape the bag to the inside of a drawer, not to the finish.
- Loose joints. If a joint is already wobbly, don’t take it further. Wrap the piece carefully, keep it stable, and address it with a restorer later.
Wrapping Materials: What to Use and What to Never Use
This is where the single most common and most damaging mistake happens: wrapping antiques in plastic.
Never use plastic against the finish
Plastic sheeting, shrink wrap, and bubble wrap all trap moisture against the surface. In a warm unit, the finish softens and the plastic bonds to it. Bubble wrap leaves a permanent circular pattern embossed in the finish. Trapped moisture underneath causes blooming, mold, and veneer lift. The damage is often unrepairable without a full refinish, which is exactly the outcome you were trying to avoid.
Use these instead
- Clean cotton sheets, muslin, or unbleached cotton drop cloths. The best first layer. Breathable, soft, and non-reactive. Wash and fully dry anything before use.
- Acid-free tissue paper. For direct contact with delicate surfaces, gilding, inlay, painted decoration, marquetry. Ordinary tissue and newsprint contain acids and lignin that can transfer and stain.
- Moving blankets or furniture pads, as a second layer. Excellent impact protection. Put a cotton sheet underneath them, the fibers in cheap pads can abrade a finish, and some contain dyes that transfer.
- Corrugated cardboard corners and edge protectors. For table edges, case corners, and anywhere a bump would land.
- Foam pipe insulation slit lengthwise, for turned legs, chair arms, and finials.
Securing the wrap
Never put tape on a finished surface. Not painter’s tape, not masking tape, adhesives that seem gentle for a weekend become permanent over months, and removal can pull finish with them. Instead:
- Tape the wrapping material to itself, not to the furniture
- Use cotton twill tape or soft cotton rope tied loosely to hold pads in place
- Use stretch wrap only over the outside of a blanket layer, never touching wood, and only loosely enough that air still moves
How to Load Antique Furniture Into a Storage Unit
How you arrange the unit matters as much as how you wrap. Pressure, contact, and floor moisture cause slow damage that isn’t visible until you come back.
Get everything off the concrete
Concrete slabs wick moisture, and they’re cooler than the surrounding air, which means condensation collects at floor level. Put down wooden pallets, plastic risers, or a layer of 2x4s across the floor and set furniture on top. This is cheap and it eliminates an entire category of problem, swollen feet, water staining, and mold on the underside.
Leave the walls alone
Keep a few inches between furniture and the unit walls. Exterior walls are the first place condensation forms, and airflow around each piece is what prevents stale, humid pockets.
Don’t stack antiques
This is the rule that gets broken because it costs space. Weight on a case top presses on joints for months and permanently distorts them. If you must go vertical, build a support structure, sturdy shelving, or a purpose-built frame, so that no antique carries the weight of another. Light, boxed items can go on top of a shelving unit, not on top of a dresser.
Positioning rules by piece
- Tabletops: Store on edge, standing vertically on a padded surface, or flat with nothing on top. Standing on edge is generally better, it reduces the footprint and avoids any temptation to stack.
- Chairs: Upright, side by side, never stacked seat-to-seat. Stacking crushes upholstery and stresses the back joints.
- Sofas and settees: Flat on their feet. Standing an antique sofa on end puts the entire frame load on joints that were never designed to carry it.
- Mirrors and framed art: Vertical, on edge, never flat and never with anything leaning against the glass.
- Case pieces: Upright, doors and drawers empty, latches secured with cotton tape rather than tape or bungees.
Ventilation and monitoring
- Leave aisles. You need to be able to reach any piece without moving three others.
- Consider a battery-powered hygrometer inside the unit, the inexpensive ones with a min/max memory will tell you exactly what conditions your pieces have actually experienced.
- Add moisture absorbers (desiccant tubs) as a supplement in humid climates, and replace them on schedule.
- Leave doors and drawers slightly ajar where the piece allows it, so interiors don’t go stale.
Special Handling by Material and Piece Type
Marble and stone tops
Marble is far more fragile than it looks, it’s brittle, it cracks under its own weight if unsupported, and it stains readily. Always remove it from the base. Wrap it in cotton, then in a moving blanket, and store it standing on edge, resting on a padded surface, braced so it can’t tip. Stored flat, a slab will crack across the middle from its own weight over time. Never rest anything against it.
Upholstery
Upholstered antiques are the most vulnerable pieces in any collection because textiles hold moisture and attract pests.
- Vacuum thoroughly with a brush attachment, including under cushions and along seams
- Address any stains before storage, they set permanently and attract insects
- Cover with breathable cotton sheeting, never plastic
- Add cedar blocks (not mothballs, which leave a lingering odor in fabric and can stain) near but not touching the upholstery
- Consider a professional cleaning for wool or silk upholstery before long-term storage
Leather
Leather dries and cracks in low humidity and molds in high humidity, which makes it the single strongest argument for climate control. Clean with a product made for antique leather, condition lightly, let it fully absorb, and cover with cotton. Check it more often than anything else in the unit.
Veneer, marquetry, and inlay
Pad these surfaces with acid-free tissue directly against the wood before adding any heavier layer. Never place weight on a veneered surface. If you see any existing lifting at an edge before storage, don’t try to glue it yourself, just make sure nothing catches it during the move, and have a restorer handle it later.
Gilded and painted surfaces
Water gilding is astonishingly delicate, a fingertip can burnish or remove it. Handle gilded frames and furniture by unfinished areas only, wear cotton gloves, and use acid-free tissue as the contact layer. Never wipe a gilded surface with anything damp.
Glass, mirrors, and glazed doors
Antique glass is thinner and more irregular than modern glass and is often original to the piece, which means a break is a genuine loss of value. Remove where designed to be removable; otherwise pad the glass with cardboard cut to size, secured to the frame rather than the glass, then blanket the whole piece.
Brass and metal hardware
Brass tarnishes fastest in humid air. Don’t polish antique brass aggressively before storage, the patina is usually part of the value. Just make sure it’s clean and dry, and wrap it in acid-free tissue if it’s going to be in contact with anything.
Long-Term Storage Maintenance
Antiques in storage aren’t a set-and-forget proposition. A short visit every few months catches small problems while they’re still small.
Every three to four months
- Read the hygrometer and note the min/max since your last visit. Sustained readings outside 35–55% RH mean you need to talk to the facility or add dehumidification.
- Check for any sign of moisture, condensation on walls, dampness at floor level, a musty smell.
- Unwrap one or two pieces and look at the finish. Cloudiness, tackiness, or any white bloom is an early humidity warning.
- Look for pest evidence: frass (fine powder) under wood, small round exit holes, insect casings in upholstery seams.
- Replace moisture absorbers and refresh cedar.
- Rotate or shift pieces slightly so the same points aren’t bearing weight indefinitely.
Annually
- Fully unwrap and inspect the highest-value pieces
- Re-photograph anything with visible change and compare against your baseline
- Review your insurance coverage and appraised values, antique markets move
- Air out the unit for an hour with the door open on a dry day
Seven Mistakes That Ruin Antiques in Storage
- Choosing a standard unit to save a few dollars a month. The most expensive decision in this entire process, measured over a year.
- Wrapping in plastic or bubble wrap. Trapped moisture and embossed patterns, both of which usually require a full refinish to correct.
- Setting furniture directly on concrete. Wicked moisture, swollen feet, and mold on undersides.
- Stacking. Months of sustained pressure permanently distorts joints and case tops.
- Taping anything to a finished surface. Adhesive residue that bonds over time and lifts finish on removal.
- Storing marble flat. A slab cracks under its own weight. Always on edge, always supported.
- Storing pieces dirty or damp. Residues react with finishes, and any residual moisture under a wrap becomes mold.
What Size Storage Unit Do You Need for Antiques
Size antique storage one step larger than you would for ordinary furniture. Because you can’t stack, and because you need aisles and airflow, the usable capacity of a unit drops meaningfully.
- 5x10 (50 sq ft): A few pieces, a chest of drawers, a pair of chairs, a small table, a mirror. Good for a single inherited set rather than a collection.
- 10x10 (100 sq ft): Roughly a room’s worth of antiques with proper spacing, a dining table with chairs and leaves, a sideboard, and a few smaller pieces. This is the most common choice for a partial collection.
- 10x15 (150 sq ft): A dining room plus a bedroom set, with real aisles. A good default if you’re storing a full estate’s worth of quality pieces.
- 10x20 (200 sq ft): Multiple rooms of antiques with shelving for boxed smalls, china, and textiles, and enough space to walk to any piece.
- 10x30 (300 sq ft): A whole-house collection, or a dealer’s working inventory that needs to be accessible piece by piece.
Browse by size: small units, medium units, or large units.
If most of what you’re storing is newer or mid-century rather than genuinely antique, the handling requirements loosen considerably, our guide to storing wood furniture covers that scenario in detail.
Store Your Antiques the Right Way
Antique furniture is one of the few things people store where the difference between doing it right and doing it casually shows up in real dollars. A climate-controlled unit, a few cotton sheets, some pallets, and an afternoon of careful wrapping is all it takes to hand a piece to the next generation in the condition you received it.
10 Federal Storage offers climate-controlled units at locations across the country, with 24/7 access and month-to-month terms, so you’re not locked in longer than you need.
Frequently Asked Questions
They genuinely need it. The mechanism isn’t hypothetical, solid wood expands and contracts with humidity, hide glue softens with heat and moisture, and repeated cycling between extremes is what opens joints and lifts veneer. In a standard unit in most of the country, a piece will experience that cycle dozens of times a year.
Roughly 35–55% relative humidity, held steady. Consistency matters more than hitting an exact number, a stable 58% is far kinder to a piece than a range that swings from 30% to 75%.
No. Plastic traps moisture against the finish, and in warm conditions it can bond to it permanently. Use clean cotton sheets or muslin as the contact layer, they keep dust off and let the piece breathe. If you want an outer layer of stretch wrap for a move, apply it only over a blanket, never against wood.
No. Fresh finish takes weeks to fully cure and will imprint under a wrap, and new glue joints need stable conditions to set properly. Store as-is and handle restoration after. There’s also a value argument, original surfaces are usually worth more than refinished ones, so get an expert opinion before refinishing at all.
Start with a clean piece, food residue and body oils attract pests. Use cedar blocks near upholstery rather than mothballs, which leave a persistent odor. Choose a facility with an active pest control program, keep everything off the floor, and inspect for frass or small exit holes at every visit. If you find active infestation, isolate the piece immediately and call a conservator.
Yes, in the right conditions. Museums do exactly this. The requirements are stable climate, breathable wrapping, no stacking, elevation off the floor, and periodic inspection. Multi-year storage is fine; multi-year storage with no check-ins is where problems compound unnoticed.
Usually partially. Most policies extend to off-site storage at a reduced percentage of your contents limit and exclude gradual damage like mold or humidity warping. High-value pieces typically need to be scheduled individually. Call your agent with your appraisal figures before you sign a lease.
Both are worse than a climate-controlled unit for the same reason: uncontrolled humidity. Garages swing with outdoor temperature, and basements run damp and are prone to flooding. If a home space is the only option, an interior room with normal household heating and cooling is far better than either.
About the Author
10 Federal Storage
Our team at 10 Federal Storage has been in the self storage industry for decades. With knowledge gained from multiple universities and in the field, we are well-prepared and excited to assist with your storage needs. When you rent a unit with us, you can feel confident that our seasoned customer service team’s help will make your transition as seamless as possible. Customer satisfaction is our number one priority, and we strive to make your experience exceptional with our automated leasing options, diverse unit sizes, and a strong commitment to sustainability.