

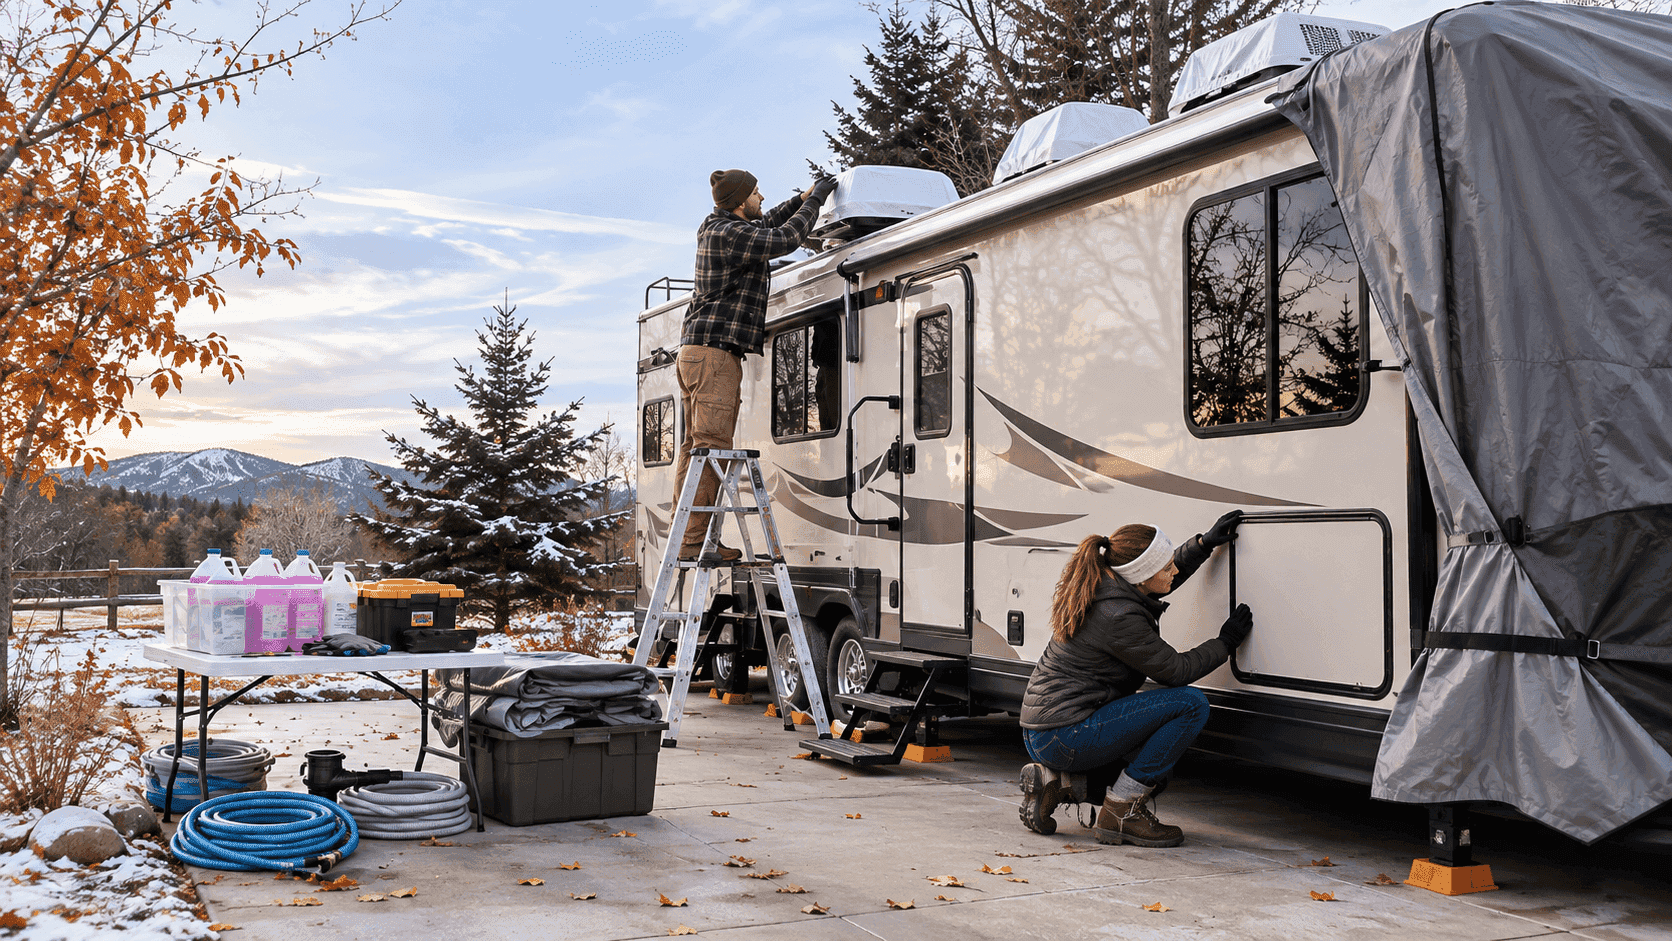
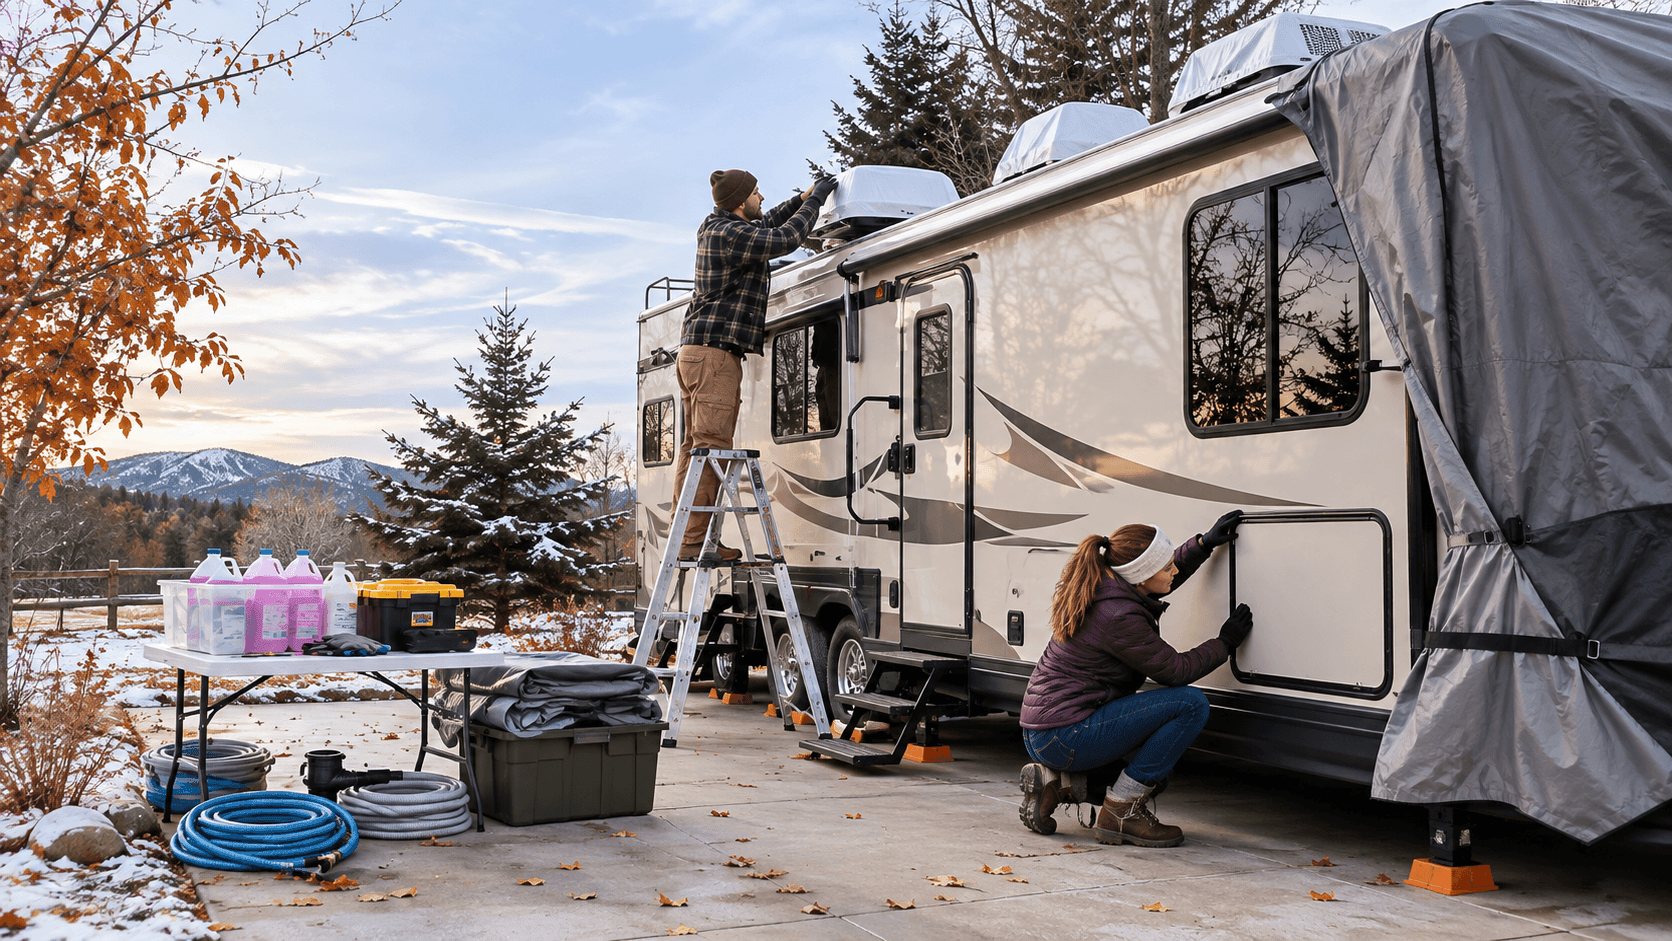
How to Winterize an RV, Camper, or Motorhome for Winter Storage
by 10 Federal Storage
Published on November 6, 2026
Most RV freeze damage doesn’t happen in January. It happens on the first hard freeze of the season, to a rig that was “going to get winterized next weekend,” or in a long cold snap that hits a region where nobody thought winterizing was necessary. The repair is rarely one cracked fitting. It’s a split water pump, a ruptured water heater tank, a toilet valve, and the floor damage from whatever leaked when it thawed.
The basic procedure is simple: drain the water, bypass the water heater, pump in RV antifreeze. The decisions and numbers around it are where owners get caught. Do you actually need to winterize where you live? How much antifreeze is enough, and why does a jug labeled -50°F turn to slush in your garage? At what charge level does a battery freeze? Why can’t some lithium batteries be charged in the cold at all? This guide answers those with sources: the National Weather Service, the USDA, battery and generator manufacturers, and RV owner’s manuals.
It covers travel trailers, fifth wheels, motorhomes, camper vans, and pop-ups, and flags where the steps differ. It also covers what changes when the RV spends the winter in a storage lot instead of your driveway, because a parking space with no power and no dump station changes the plan. And it says plainly when you don’t need to winterize, or rent storage, at all.
Table of Contents
- Do You Need to Winterize Your RV? Start With Your Coldest Night
- When to Winterize: Before the First Forecast Freeze
- What Changes for Travel Trailers, Motorhomes, Vans, and Pop-Ups
- Supplies and the Antifreeze Math
- How to Winterize RV Water Lines, Step by Step
- Should You Blow Out RV Water Lines With Compressed Air?
- RV Batteries: Charge Level Sets the Freeze Point
- Engine, Generator, Fuel, and Propane
- Tires, Seals, Pests, and the Interior
- De-Winterizing in Spring
- Winter RV Storage: What Changes When It Leaves Your Driveway
- When You Don’t Need to Winterize or Rent Storage
- RV Winterization FAQ
- Before You Close the Door for the Season
Do You Need to Winterize Your RV? Start With Your Coldest Night
Water expands as it freezes, and RV plumbing has very little thermal mass to resist it. Thin walls, plastic lines routed through an underbelly or exterior wall, and a water pump sitting in a cold compartment all reach air temperature far faster than the pipes in a house. So the useful question isn’t whether it gets cold where you live. It’s whether your RV will sit unattended through temperatures at or below freezing, and for how long.
The National Weather Service gives you two thresholds to work with. A freeze means 32°F or colder. A hard freeze generally means 28°F or colder for more than an hour, though local criteria vary; since fall 2024 the NWS has folded hard freeze conditions into its standard Freeze Warning product. A night that touches 31°F for an hour before sunrise is a different risk from a night that sits at 24°F from midnight to 8 a.m.
Leave wind chill out of the decision. The NWS is explicit that wind chill only speeds up how fast an object cools to the actual air temperature. A water line will not drop below the real temperature no matter how hard the wind blows. Watch the thermometer, not the wind chill.
Use the USDA hardiness zone as your planning number
Forecasts tell you about this week. For a season-long decision, the most useful public number is the USDA Plant Hardiness Zone, which is built from the average annual extreme minimum temperature, meaning the coldest night of the year, averaged over 1991–2020. Each zone spans 10°F and each half zone 5°F. Look up your ZIP code on the USDA map, then read it this way:
- Zone 9a and colder (average coldest night 25°F or below): Your coldest night is a hard freeze in a typical year. Winterize fully, every year, before storage.
- Zone 9b (average coldest night 25–30°F): A typical winter still produces at least one night in hard-freeze territory. If the RV will sit unattended, winterize fully.
- Zone 10a and 10b (average coldest night 30–40°F): Freezes are uncommon but not rare. If you can get to the RV before any forecast freeze, draining the system may be enough. If you can’t, winterize.
Keep one caveat in mind. The USDA itself notes that the zones don’t reflect the coldest it has ever been or will be at a location, only the average coldest night. The outlier winter is exactly the one that splits pipes, and it’s the one an unattended RV can’t respond to. When in doubt, the cost of a few gallons of antifreeze is trivial next to the cost of a water heater.
When to Winterize: Before the First Forecast Freeze
The right time is before the first overnight low of 32°F appears in your forecast, not after it arrives. Plenty of owners plan to winterize at the end of camping season and lose the race with an early cold front by a week.
There’s no fixed number for how long unprotected RV lines take to freeze. Just below 32°F it can take most of a day; in the teens, exposed lines can freeze in a few hours. Freezing time depends on how far below 32°F the air gets, how long it stays there, whether lines run through a heated or enclosed underbelly, and whether the sun hits the side where the plumbing runs. No standard exists, and you shouldn’t plan around a buffer you can’t measure.
Freeze warnings may stop before winter does
NWS forecast offices issue frost and freeze products during the locally defined growing season, and offices commonly stop issuing them for the year once an area has had its first hard freeze. A 15°F night in late December may arrive with no Freeze Warning at all, because the alert program for your county ended in October. If you’re relying on a phone alert to tell you when to deal with the RV, check the actual forecast low instead.
A practical rule: if the RV is going into storage for the season and your area has any meaningful chance of a freeze, winterize on the day it goes into storage. Don’t schedule it as a separate trip.
What Changes for Travel Trailers, Motorhomes, Vans, and Pop-Ups
The water system procedure is close to identical across RV types. What differs is everything attached to it. If you’re not sure exactly which category your rig falls into, our guide to average RV dimensions by type breaks down each class.
- Travel trailers and fifth wheels: No engine, no generator in most cases, so the job is plumbing, holding tanks, batteries, propane, tires, and pest-proofing. Fifth wheels and larger trailers often add an outdoor kitchen, a washer, or a residential-style fridge with an ice maker, each of which needs its own winterizing step.
- Class A and Class C motorhomes: Everything a trailer needs, plus a chassis engine with its own coolant, fuel, and starting battery, and usually an onboard generator. Diesel pushers may also have a hydronic heating system that circulates its own antifreeze, which is a separate system with separate service requirements.
- Class B camper vans: Smaller tanks and less plumbing, but tighter access. Many vans route lines through cabinets rather than an underbelly, and some use tankless or combination water heaters with model-specific draining procedures. Follow the manual for these closely.
- Pop-up campers and truck campers: Pop-ups often have a small fresh tank and a single sink, sometimes no water heater, so winterizing takes minutes. The bigger concern is the canvas, which must be completely dry before you fold it down for the season.
One honest note on complexity. If your rig has an ice maker, a dishwasher, a washing machine, a water filtration or RO system, or hydronic heat, the number of places water can hide goes up quickly, and the manual becomes the only reliable map. Many owners do the basic winterization themselves and pay a technician the first year for a complex rig, watching how it’s done.
Supplies and the Antifreeze Math
Gather everything before you start, because a half-drained RV with a missing part is worse than one you haven’t touched yet:
- RV and marine antifreeze labeled for potable water systems, usually propylene glycol based. Never automotive engine antifreeze, which is typically ethylene glycol and toxic.
- A water pump converter kit or siphon hose if your RV doesn’t have a built-in winterizing valve on the pump inlet.
- A water heater bypass kit if one isn’t already installed.
- Hand tools: a socket for the water heater drain (commonly 1-1/16 inch on Suburban units), a screwdriver or drill for access panels, and a flashlight.
- Thread tape rated for potable water, for reinstalling the drain plug or anode rod later.
- For the holding tanks: a sewer hose, a black tank flush wand or built-in flush connection, and a hose that never touches your fresh water system.
- Optional: an air compressor with a regulator and a blowout plug for the city water inlet, and a battery disconnect switch if you don’t have one.
How much antifreeze you actually need
Less than most people buy, as long as you bypass the water heater. The supply lines themselves hold surprisingly little. Half-inch PEX tubing, the size most RVs use, holds about 0.0092 gallons per foot according to manufacturer specifications. That means even 100 feet of supply line holds less than one gallon. The rest of your antifreeze goes into P-traps, the toilet, purging the mixed water out of each line until it runs pink, and a small reserve. That’s why most rigs need two to three gallons, and larger rigs with washers, outdoor kitchens, and multiple bathrooms need more.
Skip the bypass and the arithmetic changes completely. RV water heaters are typically 6 or 10 gallons. Fill that tank with antifreeze and you’ve tripled or quadrupled what you need, and you’ll be flushing it out of the tank in spring.
The number on the jug is not a freeze point
A jug labeled -50°F is rated for burst protection to -50°F, meaning the solution won’t expand enough to burst pipes above that temperature. It is not a freeze point. Camco, one of the largest makers, states that ice crystals start forming in its -50 product at around +10°F. That’s why a jug left in a cold garage turns to slush. Slush in your lines isn’t a problem; it doesn’t expand the way water does.
Two practical consequences follow. First, don’t dilute it. A -50 product is already a premixed solution, and Camco’s guidance is that it should not be diluted, because every bit of water left in the lines raises both the slush point and the burst point. That’s the real reason to drain thoroughly before you pump antifreeze in. Second, if your RV will sit where temperatures regularly fall well below zero, consider a -100 rated product, which has a lower slush point and more margin for the dilution you can’t avoid.
How to Winterize RV Water Lines, Step by Step
This is the core of the job. The order matters, because each step sets up the next. Check your owner’s manual for the location of your bypass valves, low-point drains, and pump inlet before you begin.
- Empty and flush the holding tanks. At a dump station, drain the black tank first, then the gray tank, so the gray water rinses the hose. Flush the black tank with the built-in flush or a wand until it runs clear, then close both valves. Do this first, while you still have water pressure to work with.
- Shut down the water heater and let it cool. Turn off the electric element at the switch and at its circuit breaker, and close the propane supply to it. Suburban’s own guidance warns that running the 120-volt element without water in the tank will damage it, and a breaker left on is how that happens in spring. A strip of tape over the breaker is a good reminder.
- Relieve pressure and drain the water heater. With the pump off and city water disconnected, open a hot faucet inside, then open the pressure relief valve on the heater. Once it’s cool, remove the drain. On Suburban heaters, which use a steel tank, the drain is the anode rod. On Atwood and Dometic heaters, which use an aluminum tank, it’s a nylon drain plug, and the manufacturer doesn’t call for an anode, so don’t add one.
- Drain the fresh water tank and lines. Open the fresh tank drain. Open the hot and cold low-point drains. Open every faucet, hot and cold, including the shower and any outdoor shower, and hold the toilet flush open briefly. Let gravity work until the dripping stops.
- Remove or bypass filters. Pull inline filter cartridges and the whole-house filter if you have one. Antifreeze can damage them, and they hold water.
- Set the water heater bypass. Turn the bypass valves to the winterize position so antifreeze goes around the empty tank, not into it.
- Close everything. Close the low-point drains and the fresh tank drain, and close all faucets. The system needs to be sealed for the pump to build pressure.
- Pump antifreeze through every line. Connect the converter kit or open the pump’s winterizing valve and drop the hose into the jug. Turn on the pump. Starting with the fixture closest to the pump, open the cold side until a steady pink stream runs, close it, then do the hot side. Work outward through every sink, the shower, the outdoor shower, and the toilet. Briefly open the low-point drains until they run pink, then close them.
- Protect the drains and toilet. Pour one to two cups of antifreeze into each sink and shower drain to fill the P-trap. Pour some down the toilet into the black tank and leave a few inches in the bowl, which keeps the flush valve seal from drying out.
- Handle the extras. Ice makers, washers, dishwashers, outdoor kitchens, and filtration systems each have their own procedure in their manuals. Hydronic heating systems run their own antifreeze loop with its own specifications; check it per the manufacturer rather than treating it as part of the plumbing.
- Shut down and label it. Turn off the water pump. Hang a note on the kitchen faucet that the RV is winterized, so nobody runs water or flips the water heater on.
Should faucets stay open or closed afterward? With antifreeze in the lines, close them; the antifreeze is the protection, and open faucets just drip pink onto your fixtures. If you used air only with no antifreeze, leaving faucets cracked open gives any trapped water somewhere to expand.
Should You Blow Out RV Water Lines With Compressed Air?
Yes, as long as you use the right pressure and don’t stop there.
RV plumbing fittings are not built for shop-compressor pressure. Use a regulator set to 30–40 PSI, and never connect an unregulated compressor to the city water inlet. Blow out one fixture at a time, hot and cold separately, until only air and mist come out.
Air alone isn’t enough for a rig that will sit through a real winter. It leaves residual water in low spots, valves, and the pump head, and the volume needed to crack a pump housing or a valve body is small. Many technicians treat compressed air as a way to get the system as dry as possible before antifreeze, which also keeps the antifreeze from being diluted. Air-only winterization is a reasonable choice in mild climates where the coldest nights barely touch freezing; it’s a gamble where they don’t.
The best approach: blow out the lines, then pump antifreeze anyway. You’ll use less of it, it will stay closer to full strength, and you won’t be relying on any single method.
RV Batteries: Charge Level Sets the Freeze Point
Whether a lead-acid battery freezes depends almost entirely on how charged it is, because a charged battery’s electrolyte is mostly acid and a discharged battery’s is mostly water. Battery Council International figures published by Trojan Battery show how steep the change is:
- 100% charged: freezes around -92°F
- 85% charged: around -62°F
- 62% charged: around -16°F
- 40% charged: around +5°F
- 20% charged: around +19°F
Other manufacturers publish slightly different figures depending on electrolyte strength, but the pattern is the same everywhere. A fully charged battery is safe in any American winter. A run-down one can freeze, and crack, on an ordinary cold night.
The thing that runs it down is parasitic draw. Propane and carbon monoxide detectors, stereo memory, control boards, and some refrigerators pull small currents constantly, enough to drain a battery over weeks. So the plan is: charge to 100%, then fully disconnect, either with the battery disconnect switch or by removing the negative cable. Then either remove the batteries and keep them on a maintainer at home, or check and recharge them during the winter.
Lithium batteries have the opposite problem
Lithium iron phosphate batteries don’t freeze the way lead-acid batteries do, but they can be damaged by charging in the cold. Battle Born, a major RV lithium maker, states that its batteries’ management system blocks charging below about 25°F while still allowing discharge down to -4°F, and it recommends a full disconnect for storage. Other brands set different cutoffs, and some budget batteries have no low-temperature protection at all, so check your battery’s data sheet.
This matters most if you have rooftop solar. On a cold, sunny day, the panels will try to charge the battery. A battery with low-temperature charge protection refuses the charge. One without it may not. If your data sheet doesn’t list that protection, disconnect the solar charge controller too.
Engine, Generator, Fuel, and Propane
Towable owners can skip to propane. For motorhomes, the chassis and generator need their own prep, and both should happen before the RV arrives wherever it will be stored.
The generator
Cummins Onan’s guidance for its RV generators is to exercise them two hours a month, ideally under load. For a storage period where that won’t happen, Onan’s long-term storage guidance for gasoline units is to treat the entire fuel tank with stabilizer and run the generator for two hours at 50 to 70 percent load, which pulls treated fuel through the whole system. For diesel generators, Onan notes diesel is a stable fuel and recommends a diesel stabilizer for storage beyond six months. It also suggests changing the generator oil to suit the temperatures expected when the unit goes back into service. Your generator’s manual takes precedence over any summary, this one included.
The chassis engine
- Fuel: Follow the chassis manufacturer’s guidance on fuel level and stabilizer, then drive or run the engine long enough to circulate treated fuel.
- Coolant: Engine coolant is a completely separate system from RV plumbing antifreeze. Check its freeze protection with an inexpensive tester and correct it if needed.
- Washer fluid: Swap in a winter-rated fluid; summer fluid freezes in the reservoir and lines.
- Never run an engine or generator inside an enclosed space, including a garage or storage unit. Carbon monoxide builds up quickly.
Propane
Turn off every appliance, then close the valve at each cylinder or tank. Portable cylinders and gas cans are where storage plans most often run into rules: storage facilities commonly prohibit flammables inside a unit, and ours do. Ask the facility directly whether cylinders mounted on a trailer’s tongue may stay in place on a parking space, rather than assuming either way.
Tires, Seals, Pests, and the Interior
Tires
Tire makers’ storage guidance is consistent on most points. Michelin’s RV guidance is to clean the tires, cover them to block direct sunlight, keep them away from ozone sources such as electric motors, and place a barrier such as plywood, plastic, or rubber mats between the tire and the storage surface. Make any blocks larger than the tire’s footprint so no part of the tread hangs over an edge. On pressure, Michelin’s storage guidance is to inflate to the figure on the sidewall; check what your own tire manufacturer specifies, and reset to your normal operating pressure before the first trip.
One thing not to do: don’t use stabilizer jacks to take weight off the tires. Stabilizer jack manufacturers and RV owner’s manuals warn that these jacks are designed to steady a parked RV, not to lift or support its weight. Using them that way can bend the jacks or the frame.
Roof and seals
A seam that’s marginal in October becomes a leak by March, and nobody is there to see it. Walk the roof, check every sealant line around vents, skylights, and the edges, and look for soft spots or lifting around windows and doors. Our RV maintenance checklist covers the inspection in more detail.
Pests and the interior
- Remove all food, including sealed packages and anything in exterior compartments. Mice will chew through packaging.
- Seal entry points. Stuff steel wool into gaps around plumbing and wiring penetrations under sinks and in the underbelly, and check that exterior vents have screens.
- Remove linens, towels, and clothing, which hold moisture and make ideal nesting material.
- Clean and dry the refrigerator, then prop the doors open so mold can’t start.
- Open cabinets and drawers for airflow, and consider moisture absorbers to reduce condensation inside a closed-up rig.
- Use a breathable RV cover if the rig sits outside. A plastic tarp traps condensation against the finish and can chafe it in the wind.
De-Winterizing in Spring
Reversing the process is mostly common sense, with three places people go wrong: the water heater, sanitizing, and what they find inside.
- Close the water heater before it fills. Reinstall the anode rod or drain plug, using potable-rated thread tape on a Suburban anode. Return the bypass to normal. Fill the tank completely and run hot water at a faucet until it flows steadily before you turn on the electric element or propane.
- Flush the antifreeze. Run fresh water through every fixture until it’s clear and no longer tastes sweet. Reinstall filter cartridges after flushing, not before.
- Sanitize the fresh water system. RV owner’s manuals from Jayco and Winnebago give the same starting point: 1/4 cup of household bleach for every 15 gallons of fresh tank capacity, diluted in water before it goes in, which yields about 50 ppm of chlorine. Fill the tank, run the solution to every faucet until you smell chlorine, and let it stand at least four hours, then drain and flush until the odor is gone. Your own manual governs if it differs.
- Reconnect and check. Charge and reconnect batteries, reset tire pressure, test the smoke, carbon monoxide, and propane detectors, and check propane connections for leaks before lighting anything.
If you find mouse droppings
Don’t sweep or vacuum them, which can put particles in the air. The CDC’s cleanup guidance is to open the doors and windows and leave the RV to air out for at least 30 minutes, put on rubber or plastic gloves, and spray droppings and nesting material until soaked with a disinfectant or a fresh bleach solution of 1.5 cups of bleach per gallon of water. Let it soak for five minutes, wipe up with paper towels, bag everything, and disinfect the area.
Winter RV Storage: What Changes When It Leaves Your Driveway
Where the RV spends the winter changes the plan more than most owners expect. A driveway has two advantages a storage lot usually can’t match: an outlet for a battery maintainer, and your own eyes on the rig after every storm. If your HOA, your city, and your driveway allow it, that’s a real point in its favor. Many owners can’t keep a rig at home, though, and a storage lot changes a few of the steps above.
- Plan for no power. Don’t assume a parking space has an outlet; 10 Federal facilities don’t offer shore power. That makes the charge-and-disconnect battery plan the default, or removing the batteries entirely.
- Empty the tanks first. There’s no dump station at our facilities, and most storage lots don’t have one. Every step in this guide should be finished before the RV arrives.
- Keep flammables out of units. Spare propane cylinders, gas cans, and fuel can’t go into a storage unit. Ask about tongue-mounted cylinders on a parking space.
- A roof overhead is not heat. Covered parking keeps sun and snow off the roof, which helps seals and finishes. It does not keep plumbing above freezing. A covered RV still needs full winterization.
- Plan your check-ins. A quick visit after a big storm or a deep cold snap lets you look for rodent signs, roof snow, and a sagging cover.
Size the space by overall length, not the model number. A trailer sold as a 24-footer commonly measures 28 feet from coupler to bumper once the tongue is counted, and you’ll want about five feet more for maneuvering. The full method is in our RV dimensions guide.
10 Federal Storage offers spaces sized for RVs, campers, and trailers at select locations among our 130+ facilities in 14 states. Entry is gated with personal access codes, properties have high-definition cameras with 24/7 recording, and nearly all locations offer 24/7 access, so a check-in after a storm doesn’t wait on office hours. Leases are month-to-month, which fits a seasonal rental: store it through winter and move out when camping season starts. Plan on bringing current registration and proof of insurance, and talk with your insurer about how your policy treats an RV in storage. You can see what’s available on our RV and trailer storage page.
When You Don’t Need to Winterize or Rent Storage
We rent RV storage, and we’d still rather you not pay for something that doesn’t solve your problem. Here’s where the honest answer is no.
- Your RV lives in a consistently heated building. Some RV manufacturers note that winterizing may not be necessary in that case. The risk shifts to a power outage during a cold snap, so it’s only a safe skip if someone will notice the heat going out.
- You camp through the winter. Winterizing and de-winterizing between weekend trips wastes antifreeze and effort. Owners who use the rig all season generally keep the system in use and draining between trips per their manual, rather than winterizing at all.
- Your coldest night stays above freezing and you can reach the rig. In the warmest zones, a thorough drain-down with a plan to check the forecast may be all you need.
- The driveway works. If the rig fits and nothing prohibits it, home is cheaper, gives you power for a maintainer, and keeps the RV where you can see it.
- The gap is a few weeks. Storing between fall trips rarely justifies the drive and the rental. Month-to-month terms exist so you can store only the true off-season.
- You’re hoping storage replaces winterizing. It doesn’t. A parking space protects against theft and gets the RV off your street. It does nothing for the plumbing.
- The rig needs repairs. Fix the roof seal or the leaking fitting before storage. Storage doesn’t pause deterioration; it just moves it out of sight.
RV Winterization FAQ
At what temperature should I winterize my RV?
Before the first forecast overnight low of 32°F, and certainly before a hard freeze, which National Weather Service offices generally define as 28°F or colder for more than an hour. In the teens, unprotected RV lines can freeze in a matter of hours.
How much antifreeze does it take to winterize an RV?
Most RVs need two to three gallons of RV antifreeze when the water heater is bypassed; larger rigs with extra fixtures and appliances need more. Without a bypass, add the water heater’s capacity, typically 6 or 10 gallons.
Does RV antifreeze freeze?
Yes. The -50°F on the label is a burst-protection rating, not a freeze point. Camco states that ice crystals begin forming in its -50 product around +10°F, which is normal and harmless. Use it full strength, because dilution raises both numbers.
Can I just blow out the lines instead of using antifreeze?
In a mild climate, many owners do. Where hard freezes are routine, air alone leaves water in low spots, valves, and the pump. A common approach is to blow out the lines first and then pump antifreeze, which uses less of it at full strength.
Should I leave the battery in my RV over winter?
A fully charged lead-acid battery won’t freeze in any typical U.S. winter, but a discharged one can freeze near 20°F. Charge it fully and disconnect it, then remove it to a maintainer at home or recharge it during the winter. Lithium batteries should also be disconnected, and many cannot be charged below freezing.
Do I need to winterize my RV if it’s in a storage facility?
Yes, if it will sit through freezing temperatures. An outdoor or covered parking space protects against theft and weather on the roof, but it does not keep plumbing above freezing. Winterize before the RV arrives.
Do you need to winterize an RV in Texas or Florida?
It depends on where. Both states span several USDA hardiness zones, from areas where hard freezes are routine to areas where they’re rare. Look up your ZIP code’s zone; if your average coldest night is below 30°F, or you can’t reach the RV before a forecast freeze, winterize.
How do I de-winterize an RV?
Reinstall the water heater drain plug or anode, return the bypass to normal, and flush every fixture until the water runs clear. Sanitize the fresh water system per your owner’s manual, fill the water heater before turning it on, then reconnect batteries and check tires and propane.
Before You Close the Door for the Season
Winterizing comes down to three things done in the right order: get the water out, put full-strength antifreeze where water can’t be removed, and leave nothing that can drain, leak, or attract a mouse. Do it before the first forecast freeze, not after, and finish it before the RV goes wherever it will spend the winter.
If that place is a storage space, measure your rig’s overall length, bring your registration and insurance, and arrive with empty tanks and a disconnected battery.
Find RV and trailer storage near you and reserve your space online.
About the Author
10 Federal Storage
Our team at 10 Federal Storage has been in the self storage industry for decades. With knowledge gained from multiple universities and in the field, we are well-prepared and excited to assist with your storage needs. When you rent a unit with us, you can feel confident that our seasoned customer service team’s help will make your transition as seamless as possible. Customer satisfaction is our number one priority, and we strive to make your experience exceptional with our automated leasing options, diverse unit sizes, and a strong commitment to sustainability.